At Solid GEAR we are a technology consulting company, we are specialists in mobile development. Many of the applications we develop are published in the public markets on both Android (Google Play) and iOS (App Store). Every time we publish an App and also always that we update an App with changes on the UI we have to add new Screenshots. Taking the screenshots is a tedious and time-consuming work. Taking a quick calculation 4 devices, with 5 screenshots are 20 screenshots, if we also want to upload our App in several languages, the number is multiplied, and if we also want to edit the images and include frames and text the time continues growing.
In our company DNA is to analyse the repetitive works and evaluate if there is another way to do it. We check if we can reduce the time and also the possible human errors doing those tasks automatically.
For this task we have a tool: Fastlane. It allows us to automatize the generation of the screenshots. Let’s see an example!
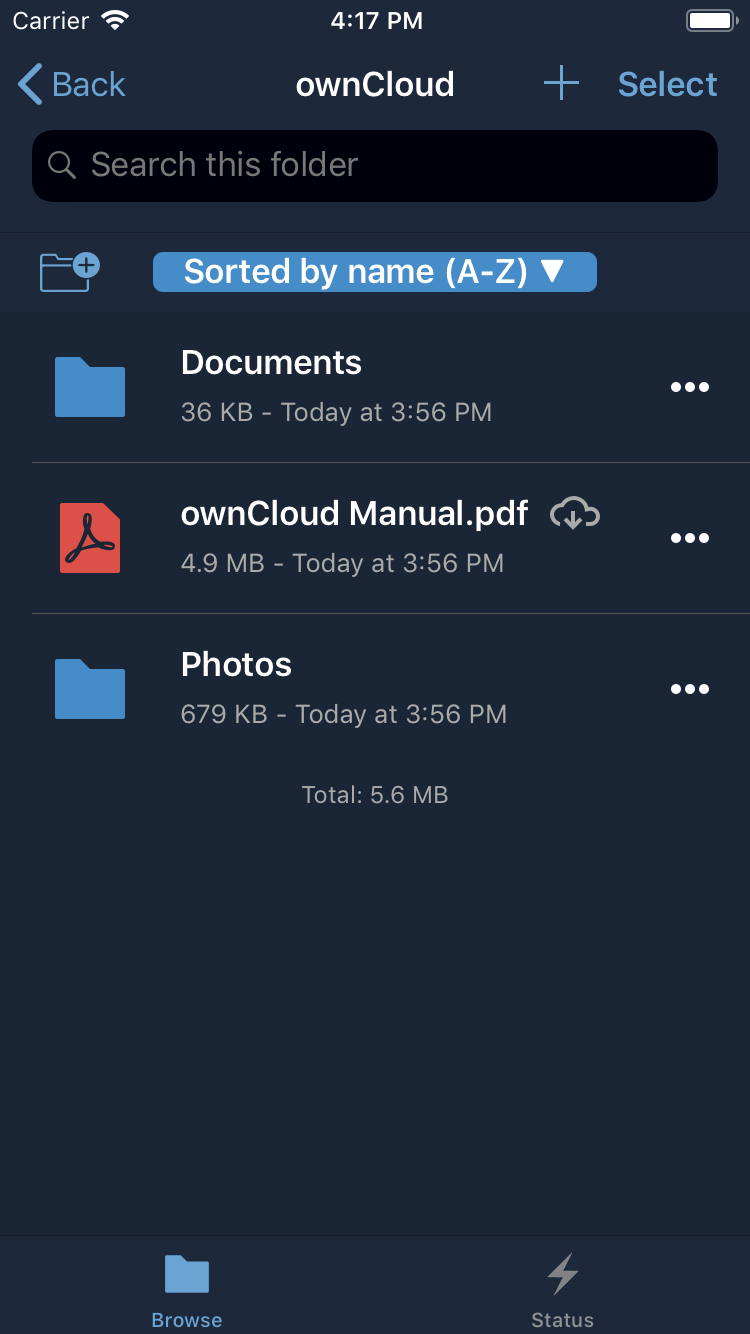
Here we have two Screenshots taken automatically with Fastlane form the open source project ownCloud where Solid GEAR collaborate since 2012:

On this first article of this topic we will learn how to take screenshots using Fastlane saving a lot of time. On the following articles we will see how to put those screenshots into a device frame adding also a descriptive sentence about that screenshot.
The first thing that we have to know it is that Fastlane take the screenshots using UI Tests. So we have to develop a UI Test that navigate throw the app and on the points where we want to take the screenshots we will have to call to a method provided by Fastlane.
To add a new Target of UI Testing we have to go to the project and then tap over the “+” button

Choose UI Testing Bundle

We should put a descriptive name, for example UITestScreenshots

Now we have to create the Scheme

Choose the Target UITestScreenshots created previously

Edit the Scheme

On the Build section select “Run” option and then Close to save the changes.

Now we have to install Fastlane on our computer:
sudo gem install fastlane -NV
With Fastlane installed we have to add it to our project. To do that we have to go to the folder where we have the file “.xcodeproj” and there execute the following command:
fastlane init
Choose the opion 1. This will generate the Fastlane config files automatically.

After that we have to choose our Scheme (UITestScreenshots)
Once it has finish we will have a file on “./fastlane/SnapshotHelper.swift”. We have to include that file on out Target for UI Testing to use it to take the screenshots.
We have to develop an UI Test that navigate through the different views of our app.
On the beginning of that test we have to add the following code:
let app = XCUIApplication()
setupSnapshot(app)
app.launch()
After that on every point that we want to take an screenshot we will add the following line:
snapshot("01_Screenshot")
I recommend you to use numbers on the beginning of the names becase later will be easily to upload them to the AppStore. Even if you use Fastlane to upload the screenshos they will appear in the right order (we will explain this on another blog entry 🙂 ).
The config file of Fastlane for the screenshots is located at “fastlane/Snapfile”
On this file we will config the devices models where we want to take the screenshots (Fastlane will use simulators)
A very important detail it is that we have to add the following line to allows the simulator to change the language:
localize_simulator(true)
You can check the config file of ownCloud to take some ideas:
https://github.com/owncloud/ios-app/blob/master/fastlane/Snapfile
Now we can run fastlane to execute the creation of the screenshots:
fastlane snapshot
Depending the number of screenshots and language this will take more or less time.
Once it finished the screenshos will appear at “fastlane/screenshots”. There we will have a folder for each language.
One more thing:
Also exist the possibility to edit the screenshots and include them into a Frame. To do that we will need to use the Fastlane tool “Frameit” that we will see on the following blog post about this topic 🙂


